I taught my children how to write when they were three years old, the same time they were learning how to read. Our writing lessons started with very simple pictures, gradually moving onto words and sentences. Not scary, just super fun, super easy, and super stress free.
When I was teaching kindergarten, a colleague shared an amazing book with me called Teaching Writing in Kindergarten by Randee Bergen. I cannot recommend this book enough. The author has a seamless way of teaching writing that starts from the ground up. It has been a huge success with my students as well as my own children. Much of this blog is inspired and based off Randee Bergen’s book.
What does your little learner need to become a writer? Writing is essentially putting symbols (letters) together to make written words. In order to write, your little one has to know how to hold and use their writing tool and what the letters look and sound like. Exposure to the alphabet and the letter names and sounds is key, which I discuss in a previous blog, Teaching Your Little One to Read (Part 2).
Early on, it is important to allow your child opportunities to build their fine motor skills, an important skill they need to master before learning to write.
- Fine Motor Skills
- Fine Motor Skills We Enjoy
- Proper Pencil Grip
- Step 1: Writing Their Name
- Step 2: Drawing a Picture
- Step 3: Labeling Our Picture
- Two Word Labels
- Simple Sentences
Building Fine Motor Skills

Long before I was thinking about teaching my kids to write, we did tons of fun activities that helped develop their motor skills. Fine motor skills involve the use of the smaller muscles of the hand, commonly in activities likes waving, clapping, holding utensils to eat, brushing teeth, turning pages in a book, picking things up, opening and closing things, etc. The goal is to do lots of fine motor activities, so when it’s time to hold a pencil, it is not something foreign or challenging.
Fine Motor Activities We Enjoy:


There are many more fine motor activities such as building legos and basically playing in general! I knew my kids were ready to start writing lessons because they had plenty of fine motor practice, they had their pencil grip down, and were familiar with most letter names and sounds.
Proper Pencil Grip
When your little one starts using pencils, crayons, paint brushes, markers, etc. you will want to start working on their grip. Here is a super cute and clear video that shows proper pencil grip. Once they are comfortable with this and they have had exposure to the letter names and sounds, they are ready to begin their writing lessons!
Time to Get Writing!

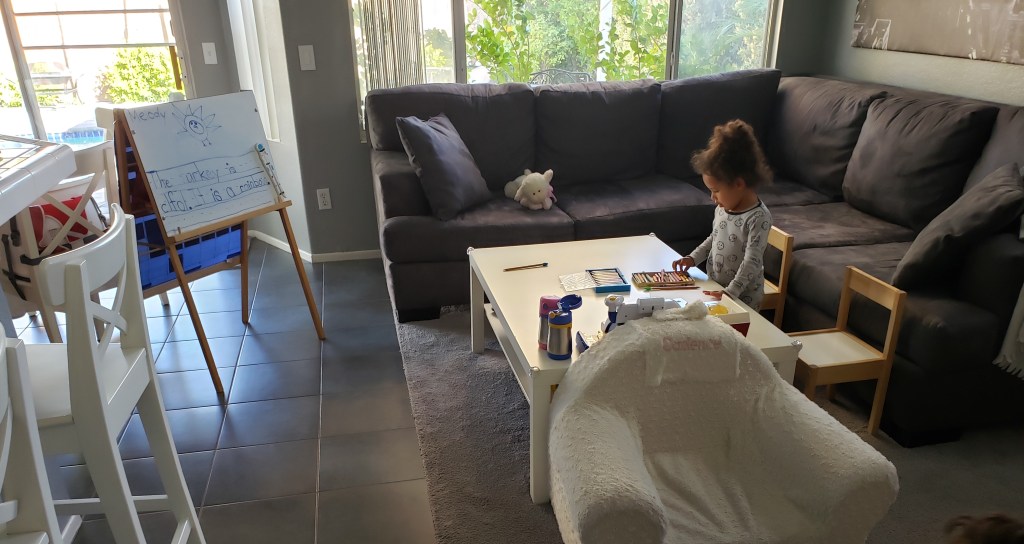
After breakfast each day, we began school with a song or story, calendar time, and went straight into writing! I found my kids were very focused early in the day, which made our 20-30 minute writing lessons productive, fun, and super engaging.
Step 1: Writing Their Name
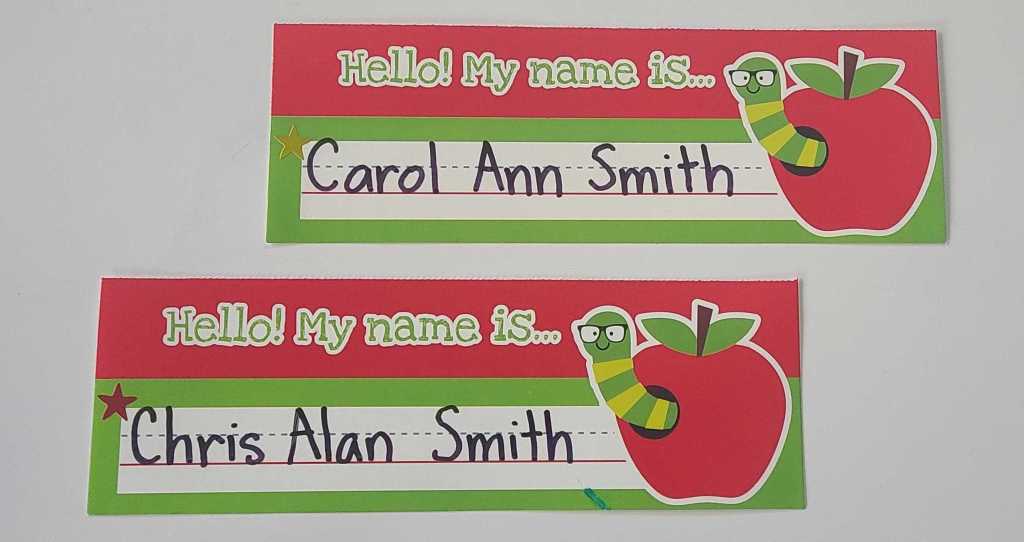
I made a name card for my kids that had their whole name on it. I put a star sticker at the front of their name card so they knew where to begin writing. I would tell them to “start at the star”. Each day, to begin our writing lesson, they would walk up to the two name cards on the table and pick the card with their name on it (skill: name identification). In the beginning, I would give tips for finding their name: “Your name starts with Ch” or “Your first name ends with an s”, eventually my little ones were able to find their names without my help.
Next, I gave them a plain sheet of paper with no lines. We would orient our paper horizontally instead of vertically in order to give them more room to write their name. Our saying was, ‘put your paper long like a train, not tall like a tower’. Once they had their name card and paper oriented correctly, they put their name card underneath the very top of their paper and traced their whole name as perfectly as they could. This is how my kids learned to write their name.

A good habit we started right away was writing each letter from the top, down. For example, the letter ‘t’ would start at the highest point with ‘a long line down and across in the middle’. Early on, I would put my hand on top of their writing hand to guide them when they wrote their name. Sometimes I would write their name with a highlighter and they would trace it. With time, they transitioned from tracing, to copying their name with the name card next to their paper. Eventually, they didn’t need their name card at all.
As they wrote their name, we would say the letter name we were about to write. Saying the name of each letter helped them learn all the letters in their name. We would also say the movements we were doing while we moved our pencil to create that letter. Here is a video of the sayings we use for each letter:
Repeating these sayings every time we wrote the letters, helped my kids remember how each letter was formed. Often, I would hear them whisper these sayings to themselves as they wrote, ‘a circle and a line’ (when they wrote the letter a). Below is a list of the sayings that can be used as a quick reference.
Once they were done writing their whole name, I put a star sticker by it as a reward for their hard work, which they loved so much. Yay, that was half the lesson!
Step 2: Drawing a Picture

After writing their name, I would start our picture for the day. A simple picture with a simple name, like ‘mom’, ‘bed’, ‘pen’, ‘pig’, ‘sun’. A word with no more than two to three sounds. If you are not sure which words to choose, I created a sample year long writing guide.
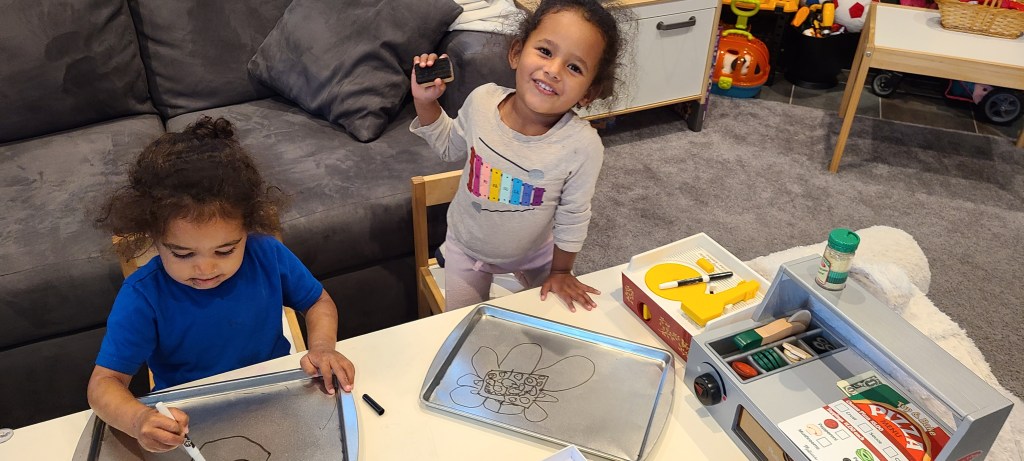
We did our drawings in an I-Do, You-Do format. Where I would draw one step of the picture on the whiteboard and they would draw it on their paper after watching me. Step by step, we continued in an I-Do, You-Do format until the picture was complete.

For ‘mom’, I started by drawing a big circle in the middle of the ‘page’ and told them to do the same. After they drew their circle, I gave them a compliment and moved onto the next step.
I never told them what we were drawing for the day, part of the fun was letting them figure it out. They enjoyed guessing what our drawing was as we added more and more details to our picture.
While you are drawing each step, use this time to explicitly talk about what you are doing. Use words that describe the shape, size, color or amount, while comparing and contrasting different parts of the picture. This will build their vocabulary as well as their observational skills. Watch this video to hear some of the describing words I use when drawing the second eye on the mom.
Once we completed our picture, we said what we drew! I would give more hints if they guessed incorrectly. Onto the last step, labeling our picture.
Step 3: Labeling Our Picture
Labeling the picture is the final part of the lesson. Here’s a demo on this portion of the lesson.
I end each writing lesson by praising their hard work and placing a star sticker next to the word they wrote, this creates a sense of closure and accomplishment.
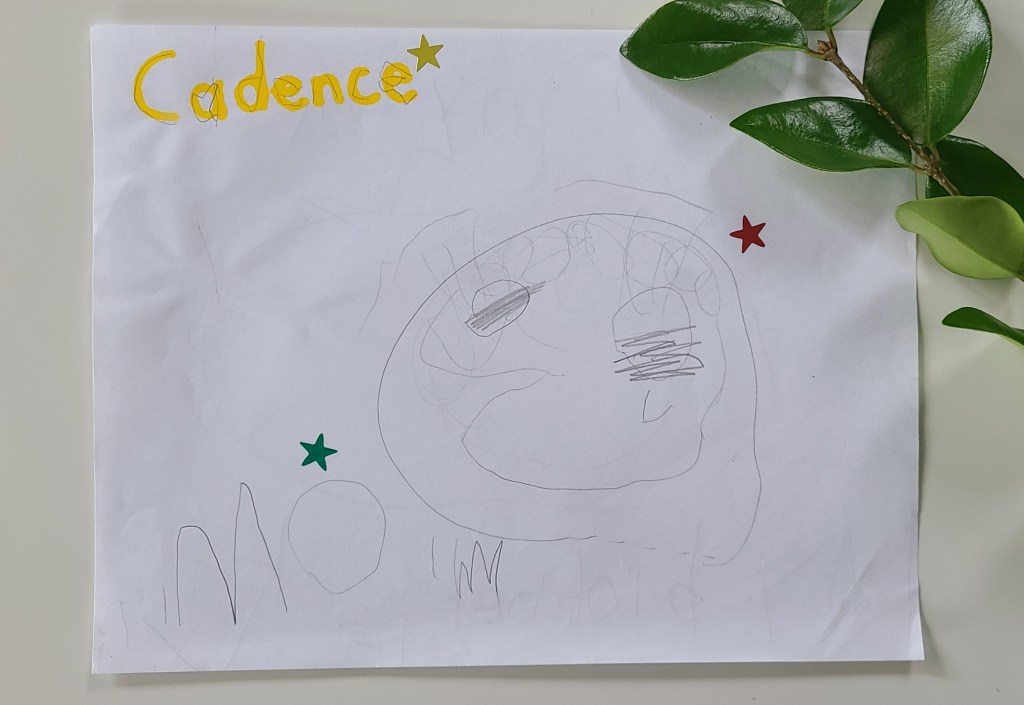
They can color their picture after the lesson (optional, but fun). My little ones would be so excited to show Baba their writing for the day. We displayed their writing on the wall often, which they loved.
We wrote one word labels each day for about one month or so. There is no set time, keep going until you feel your child has a good understanding of this process: drawing a picture, labeling it by listening to the sounds of the word, counting the sounds, and writing those sounds down on paper. Once they have reached this goal, move onto two word labels.
Two Word Labels
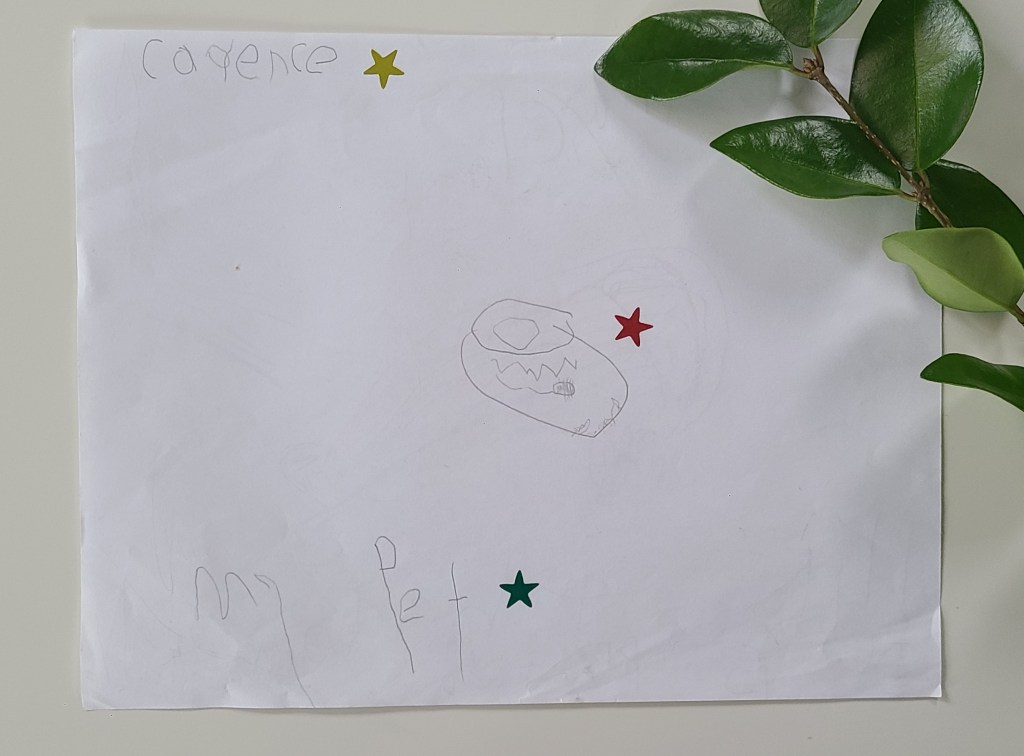
This was an exciting part of the writing journey because at this point, my kids had a good understanding of what writing looked like. Our next step was adding sight words. An example of a two word label with sight words would be, ‘a dog’, ‘the pen’, ‘my pet’. Make sure to pick sight words they have already learned and are displayed on their word wall. I go over sight words and how I teach and display them in a previous blog, Teaching Your Little One to Read (Part 3).
When it’s time to label our picture with a two word phrase, we find the sight word we need on the word wall and copy it down instead of sounding it out, since it’s a word we have already learned. After writing our sight word, we make a finger space to add space between words and make it easier for the reader to see each word clearly. We then sound out the other word using the same steps we did for the word ‘mom’. We worked on two word labels for a couple weeks and moved onto simple sentences.
Simple Sentences

Examples of simple sentences we used were, ‘I see a cat.’ ‘My dog is brown.’ ‘The man is tall.’ ‘My dad is Corey.’ It’s important to note that in the beginning, before they have conventional spelling down, they will only be writing down the sounds they HEAR in a word. For example, it is perfectly fine for them to write ‘tol’ for the word ‘tall’ because they are transcribing what they hear. Later on, further along in this process when they have a good understanding of writing in general, you can add spelling rules and tips which I discuss in a previous blog, Teaching Your Little One to Read (Part 4). At this stage, correcting their spelling mistakes and introducing spelling rules and exceptions will take the focus away from their current goal, which is gaining confidence and understanding the process of writing.
When teaching simple sentences, we do the same process with sight words (known words they can just copy from the word wall) and other words (words they have to sound out). We also focus on capitalization and punctuation. We have a saying to remember these important parts of a sentence:
Me: “Every sentences starts with a…”
Them: “capital letter!”
Me: “and ends with a…”
Them: “period, exclamation, or question mark!” or they can say “end mark!”
When introducing the different punctuation marks, I taught a few mini lessons where I would I say different sentences and they would tell me which end mark each sentence needed.

Once you feel your child has mastered simple sentences, you can move onto more complex sentences, two or more sentences, mini stories, etc. This is also a good time to begin independent writing, where they are given a writing prompt. An example of a writing prompt would be, “What is your favorite food?” “Where do you love to go?”. Discuss sample answers before they begin writing on their own to help give ideas, if needed.
It is important to have your child count how many words are in the sentence they want to write. Sometimes they get so carried away that their sentence ends up being 20 words long! Have them say their sentence aloud while counting each word to ensure it is manageable and will not end up frustrating them. Generally 3-6 words is manageable. With time, that number will grow. See my blog, Writing Activities We Enjoy, when you are ready to take your little one’s writing even further!

Leave a comment